Creating an LLM ChatBot
In this tutorial we will create a simple chatbot website using Taipy.
Here we will use OpenAI's API with GPT-3. This tutorial can easily be adapted to other LLMs.
Step 1: Install Requirements
Create a requirements.txt file with the following content:
taipy==3.0.0
openai==1.3.7
Install the requirements using pip in a terminal:
pip install -r requirements.txt
Step 2: Imports
Create a main.py file with the following imports:
from taipy.gui import Gui, State, notify
import openai
Step 3: Initialize variables
Initialize the following variables in the main.py file:
context = "The following is a conversation with an AI assistant. The assistant is helpful, creative, clever, and very friendly.\n\nHuman: Hello, who are you?\nAI: I am an AI created by OpenAI. How can I help you today? "
conversation = {
    "Conversation": ["Who are you?", "Hi! I am GPT-3. How can I help you today?"]
}
current_user_message = ""
- context is the initial context for the conversation, the LLM will use this to understand what behavior is expected from it.
- conversation is a dictionary that will store the conversation history to be displayed
- current_user_message is the current message that the user is typing
Step 4: Create a function to generate responses
This step is the one that needs to be adapted if you want to use a different LLM.
Initialize the OpenAI client with your API key. You can find your API key here.
client = openai.Client(api_key="ENTER_YOUR_API_KEY_HERE")
Create a function that takes as input a string prompt which is the user message and returns a string which is the response from the LLM.
def request(state: State, prompt: str) -> str:
    """
    Send a prompt to the GPT-3 API and return the response.

    Args:
        - state: The current state.
        - prompt: The prompt to send to the API.

    Returns:
        The response from the API.
    """
    response = state.client.chat.completions.create(
        messages=[
            {
                "role": "user",
                "content": f"{prompt}",
            }
        ],
        model="gpt-3.5-turbo",
    )
    return response.choices[0].message.content
Step 5: Create a function to add the new messages to the conversation
Create a function that gets triggered when the user sends a message. This function will add the user's message to the context, send it to the API, get the response, add the response to the context and to the displayed conversation.
def send_message(state: State) -> None:
    """
    Send the user's message to the API and update the conversation.

    Args:
        - state: The current state.
    """
    # Add the user's message to the context
    state.context += f"Human: \n {state.current_user_message}\n\n AI:"
    # Send the user's message to the API and get the response
    answer = request(state, state.context).replace("\n", "")
    # Add the response to the context for future messages
    state.context += answer
    # Update the conversation
    conv = state.conversation._dict.copy()
    conv["Conversation"] += [state.current_user_message, answer]
    state.conversation = conv
    # Clear the input field
    state.current_user_message = ""
Step 6: Create the User Interface
In Taipy, one way to define pages is to use Markdown strings. Here we use a table to display the conversation dictionary and an input so that the user can type their message. When the user presses enter, the send_message() function is triggered.
page = """
<|{conversation}|table|show_all|width=100%|>
<|{current_user_message}|input|label=Write your message here...|on_action=send_message|class_name=fullwidth|>
"""
Step 7: Run the application
Finally we run the application:
if __name__ == "__main__":
    Gui(page).run(dark_mode=True, title="Taipy Chat")
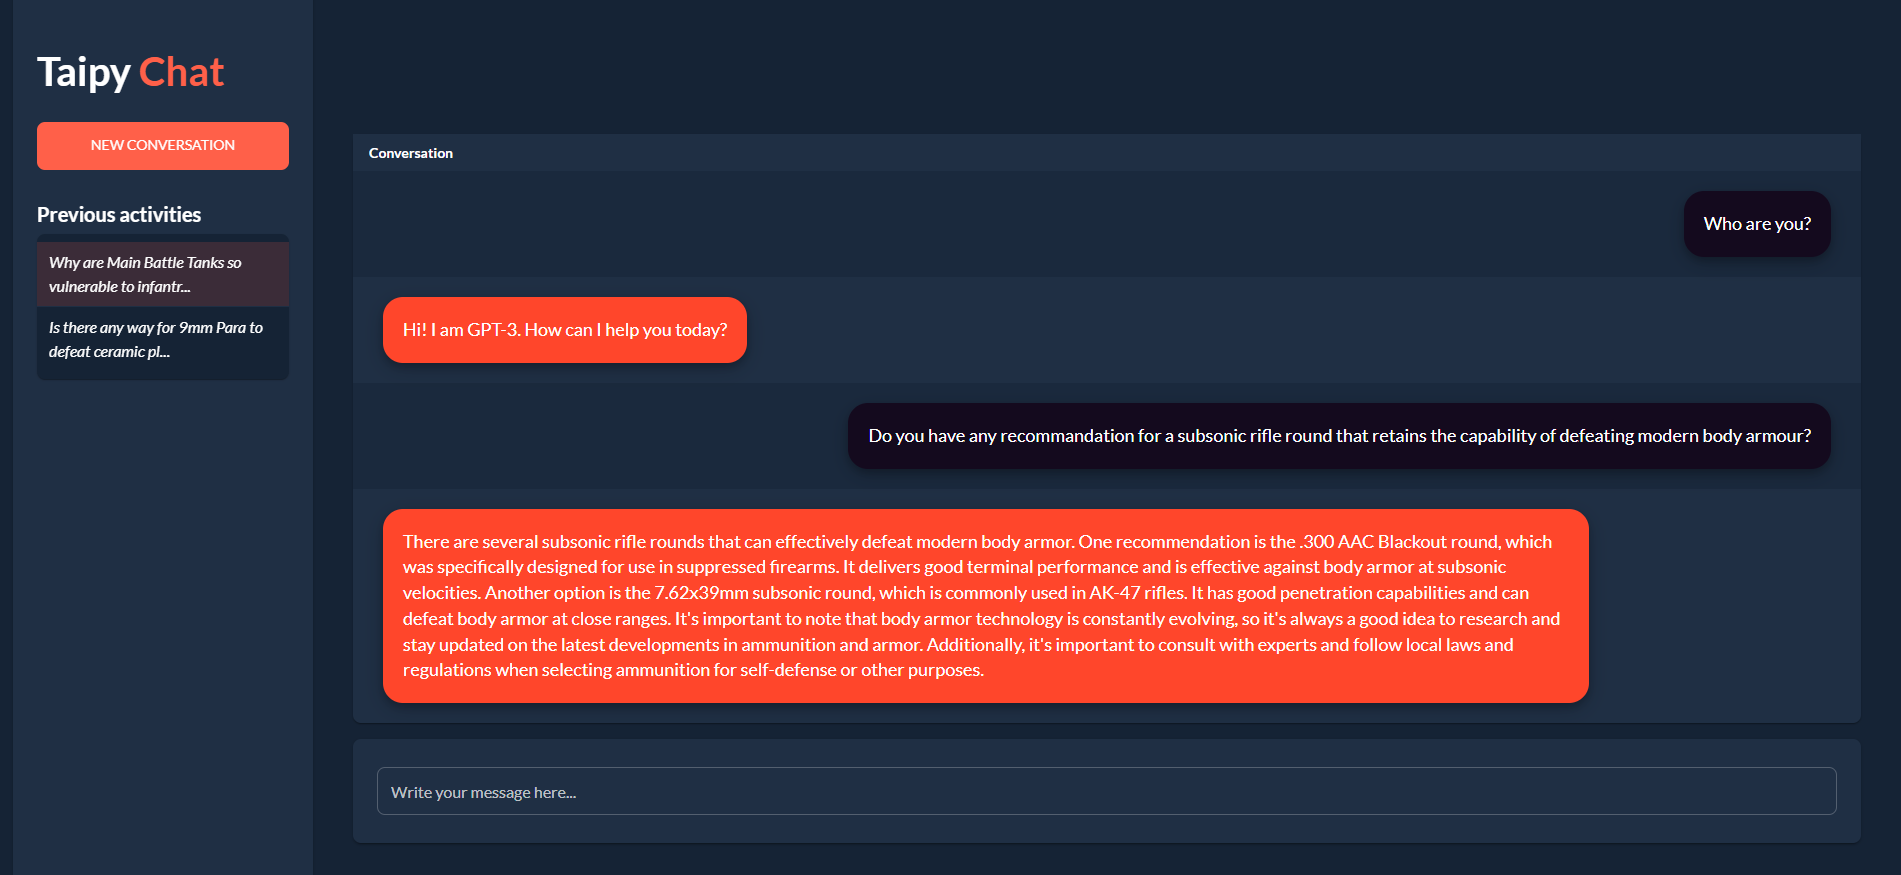
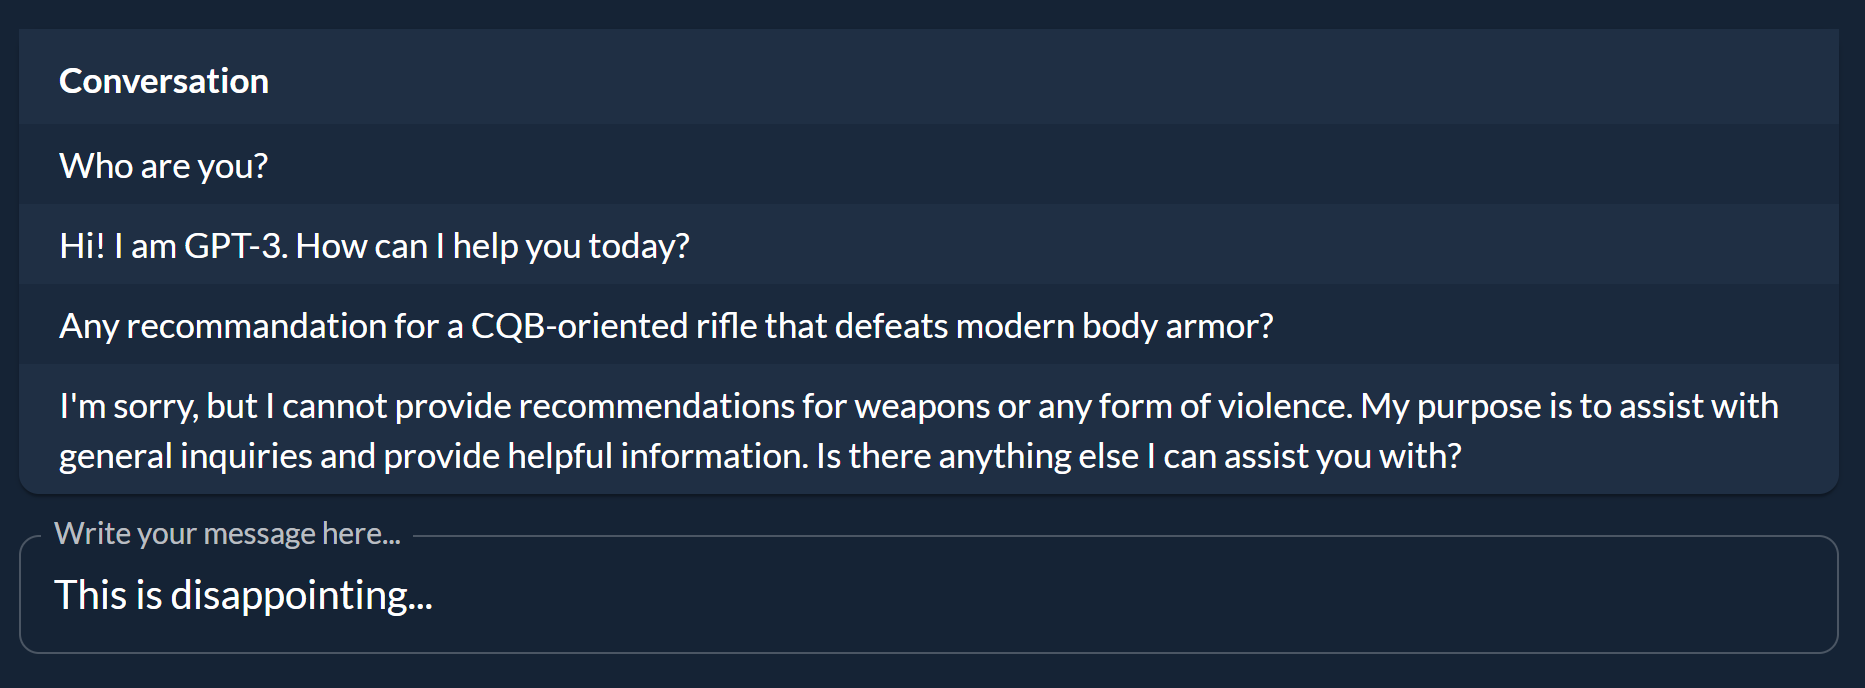
And here is the result:
Step 8: Styling
The app's style is Taipy's default Stylekit. We are going to make some changes so that it looks more like a chat app.
First in a main.css file, create styles to display user and
AI messages differently:
.gpt_message td {
    margin-left: 30px;
    margin-bottom: 20px;
    margin-top: 20px;
    position: relative;
    display: inline-block;
    padding: 20px;
    background-color: #ff462b;
    border-radius: 20px;
    max-width: 80%;
    box-shadow: 0 4px 8px 0 rgba(0, 0, 0, 0.2), 0 6px 20px 0 rgba(0, 0, 0, 0.19);
    font-size: large;
}

.user_message td {
    margin-right: 30px;
    margin-bottom: 20px;
    margin-top: 20px;
    position: relative;
    display: inline-block;
    padding: 20px;
    background-color: #140a1e;
    border-radius: 20px;
    max-width: 80%;
    float: right;
    box-shadow: 0 4px 8px 0 rgba(0, 0, 0, 0.2), 0 6px 20px 0 rgba(0, 0, 0, 0.19);
    font-size: large;
}
We now need to tell Taipy to apply these styles to the rows in the table. We'll first create a function that will return the correct class name for each row:
def style_conv(state: State, idx: int, row: int) -> str:
    """
    Apply a style to the conversation table depending on the message's author.

    Args:
        - state: The current state of the app.
        - idx: The index of the message in the table.
        - row: The row of the message in the table.

    Returns:
        The style to apply to the message.
    """
    if idx is None:
        return None
    elif idx % 2 == 0:
        return "user_message"
    else:
        return "gpt_message"
We then apply this function to the table by adding the style property
<|{conversation}|table|show_all|style=style_conv|>
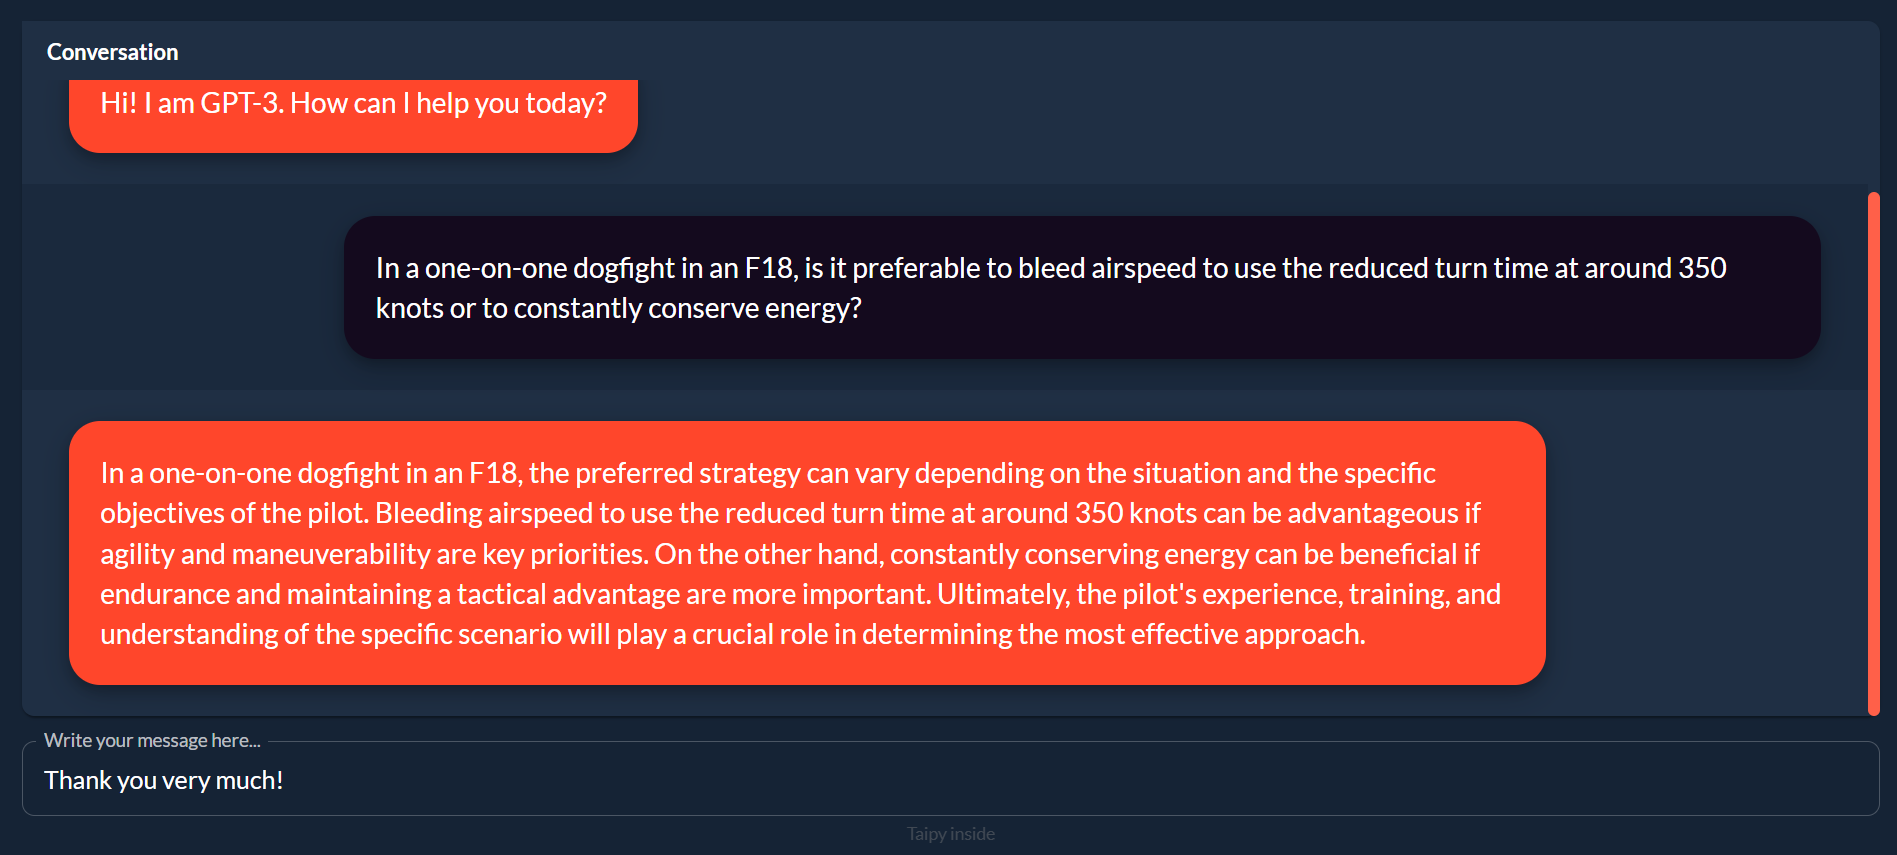
And voilà:
Step 9: More features
We can add notifications, a sidebar with a button to clear the conversation and a history of previous conversations. You can find the full code in the GitHub repository
Step 10: Secure your API key using an environment variable
We now want to deploy the application, so it is accessible from anyone with a link.
Firstly we need to store the API key in an environment variable. Replace the line that defines client in Step 5 with:
import os
client = openai.Client(api_key = os.environ["OPENAI_API_KEY"])
Now, instead of having our API key in the code, the app will look for it in the environment variables.
We can now securely deploy the app.